TensorFlow is an open-source machine learning library developed by Google that has quickly become a popular choice for developers and researchers. In this guide, we will walk you through the process of how to install TensorFlow on openSUSE, a powerful and versatile Linux distribution. We’ll also include some handy tips and tricks to make your experience as smooth as possible.
How to Install TensorFlow on openSUSE
Table of Contents
- Prerequisites
- Installing Python
- Installing TensorFlow
- Testing TensorFlow
- Optional: Creating a Virtual Environment
- Conclusion
Prerequisites
Before you begin, ensure you have the following:
- openSUSE Leap or Tumbleweed installed on your system
- A working internet connection
- Access to the terminal (CLI) and superuser privileges (root)
If you need guidance on installing openSUSE, check out our other guides on how to install Apache on openSUSE and how to install Nginx on openSUSE.
Installing Python
TensorFlow requires Python, so let’s start by installing it on your openSUSE system. If you haven’t already installed Python, follow our tutorial on how to install Python on openSUSE. Once Python is installed, you can proceed with installing TensorFlow.
Installing TensorFlow on openSUSE
To install TensorFlow, follow these steps:
- Open the terminal and update your system:
sudo zypper update- Install the required dependencies:
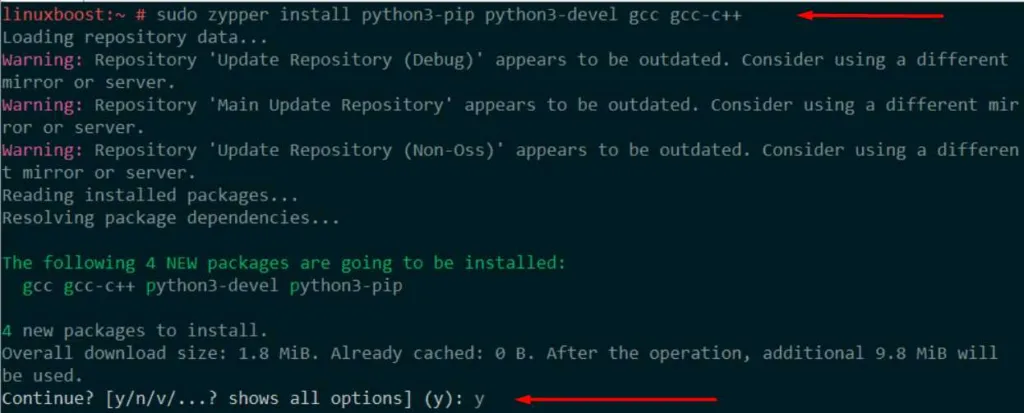
sudo zypper install python3-pip python3-devel gcc gcc-c++
How to Upgrade PIP Package to Latest Version
pip install --upgrade pip
- Install TensorFlow using the Python package manager (pip):
pip3 install --user tensorflow
This command installs TensorFlow for your user account only. If you want to install it system-wide, use sudo pip3 install tensorflow it instead.
Testing TensorFlow on openSUSE
Now that TensorFlow is installed, let’s test it to make sure everything is working correctly. Run the following Python script:
import tensorflow as tf
hello = tf.constant('Hello, TensorFlow!')
sess = tf.Session()
print(sess.run(hello))
If you see the output “Hello, TensorFlow!”, then your installation was successful!
Optional: Creating a Virtual Environment
It’s a good practice to create a virtual environment when working with Python projects, as it isolates dependencies and prevents conflicts. Follow these steps to create a virtual environment for your TensorFlow project:
- Install the virtualenv package:
pip3 install --user virtualenv- Create a new virtual environment in your desired directory:
virtualenv tensorflow-env- Activate the virtual environment:
source tensorflow-env/bin/activate- Install TensorFlow within the virtual environment:
pip install tensorflowNow you can work on your TensorFlow projects within this isolated environment. To deactivate the virtual environment, simply run:
deactivateConclusion
Congratulations! You’ve successfully installed TensorFlow on your openSUSE system. You can now start developing and experimenting with machine learning projects. If you’re new to TensorFlow, check out the official TensorFlow tutorials to get started.
If you want to expand your knowledge and skills in the Linux environment, be sure to explore our other tutorials and guides, such as how to install Git on Ubuntu, how to create RAID 1 in Ubuntu, and how to set up a home server with Ubuntu.
Furthermore, if you’re interested in learning more about machine learning, you might find these resources helpful:
Good luck with your TensorFlow projects


