Nginx is a popular, high-performance web server, load balancer, and reverse proxy server. It’s known for its stability, performance, and low resource consumption. In this tutorial, we will walk you through the process of how to install Nginx on openSUSE, a powerful and user-friendly Linux distribution. By following this guide, you will have a fully functional Nginx web server up and running on your openSUSE system.
How to Install Nginx on openSUSE
Table of Contents
- Prerequisites
- Step 1: Update Your System
- Step 2: Install Nginx
- Step 3: Configure Nginx
- Step 4: Manage Nginx Service
- Step 5: Test Your Nginx Installation
- Conclusion
Prerequisites
Before proceeding with this tutorial, make sure you have the following:
- An openSUSE system (Leap or Tumbleweed) with root or sudo privileges.
- A stable internet connection.
Update Your System
First, update your openSUSE system to ensure you have the latest packages and security patches. Open a terminal window and enter the following command:
sudo zypper updateWait for the update process to complete. You may need to reboot your system if a kernel update was installed.
Install Nginx on openSUSE
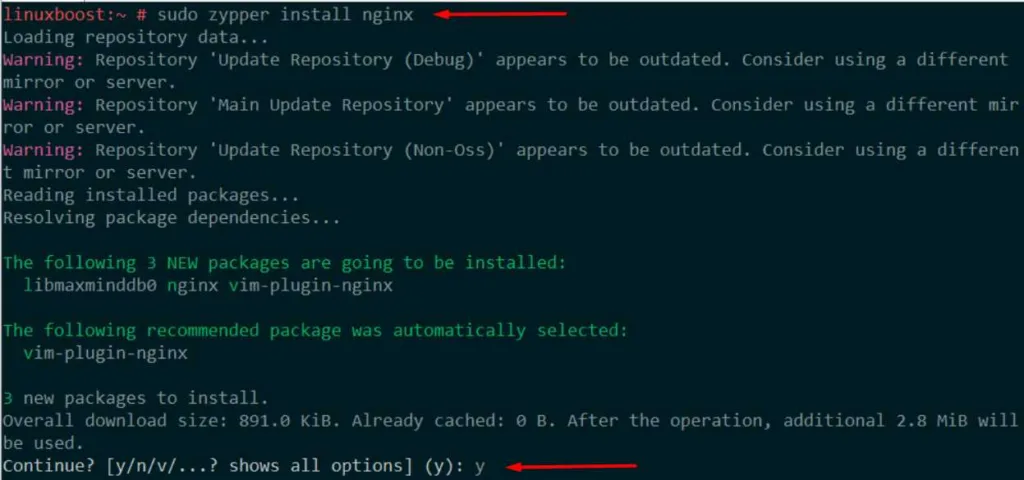
Now that your system is up-to-date, install Nginx using the following command:
sudo zypper install nginx
After the installation is complete, Nginx will be installed as a service and ready to be configured.
Configure Nginx
The default configuration file for Nginx on openSUSE is located at /etc/nginx/nginx.conf. You can open this file using your preferred text editor, such as Vim, to modify the configuration as needed.
For this tutorial, we will create a simple configuration that serves a static HTML file. Create a new directory to store your website files:
sudo mkdir -p /var/www/htmlNext, create a new HTML file named index.html in the /var/www/html directory:
sudo echo '<h1>Hello, Nginx on openSUSE!</h1>' | sudo tee /var/www/html/index.htmlOpen the Nginx configuration file (/etc/nginx/nginx.conf) and replace the existing server block with the following:
server {
    listen       80;
    server_name  localhost;

    location / {
        root   /var/www/html;
        index  index.html;
    }
}
Save the changes and exit the editor.
Manage Nginx Service
To enable the Nginx service to start automatically at boot, run:
sudo systemctl enable nginxStart the Nginx service with the following command:
sudo systemctl start nginxYou can check the status of the Nginx service by running:
sudo systemctl status nginxIf you make changes to the Nginx configuration, you can reload the service with:
sudo systemctl reload nginxTo stop the Nginx service, use the following command:
sudo systemctl stop nginxTest Your Nginx Installation
Now that you have installed and configured Nginx, it’s time to test your installation. Open a web browser and navigate to http://localhost or your server’s IP address. You should see the “Hello, Nginx on openSUSE!” message displayed on the page.
You can also test your Nginx installation using the curl command:
curl http://localhostThis command should return the following output:
<h1>Hello, Nginx on openSUSE!</h1>If you see this message, congratulations! Your Nginx installation on openSUSE is working correctly.
Conclusion
You have successfully installed and configured Nginx on your openSUSE system. You can now use Nginx to serve web applications, static websites, or as a reverse proxy server. For more information on configuring Nginx, refer to the official Nginx documentation.
To further enhance your openSUSE system, consider exploring other tutorials, such as how to install Apache on openSUSE if you prefer an alternative web server, or how to set up a web server on Ubuntu using Nginx for a different Linux distribution.


