If you’re looking for a powerful and cost-effective virtualization solution, KVM (Kernel-based Virtual Machine) is the way to go. In this tutorial, we’ll guide you through the process of how to install KVM virtualization on Rocky Linux system. We’ll also discuss how to set up virtual machines (VMs) and manage your KVM environment.
Why KVM?
KVM is an open-source virtualization technology that’s built directly into the Linux kernel. It’s known for its high performance, flexibility, and compatibility with various hardware architectures. Some of the advantages of using KVM include:
- Lower costs: KVM is free, making it an affordable alternative to proprietary solutions like VMware ESXi.
- Scalability: KVM can support a large number of VMs, allowing you to scale your infrastructure as needed.
- Integration with other open-source tools: KVM works well with other popular virtualization solutions, such as Proxmox VE.
Prerequisites
Before installing KVM on Rocky Linux, make sure you meet the following requirements:
- A Rocky Linux system with root or sudo access.
- A CPU that supports hardware virtualization (Intel VT-x or AMD-V).
- At least 2 GB of RAM for the host system.
How to Install KVM Virtualization on Rocky Linux
Update Your System
First, update your Rocky Linux system to the latest available packages:
sudo dnf update -yInstall KVM and Required Packages
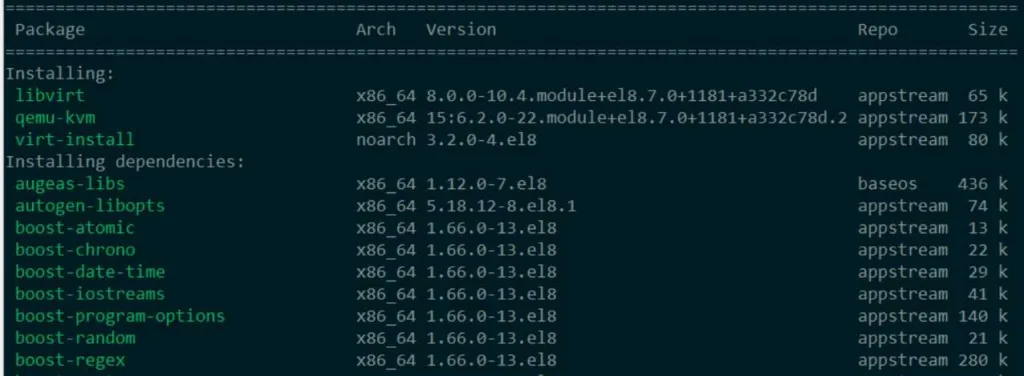
Install the necessary KVM packages, including qemu-kvm, libvirt, and virt-install:
sudo dnf install -y qemu-kvm libvirt virt-install
Enable and start the libvirtd service:
sudo systemctl enable --now libvirtdConfigure Networking
To set up networking for your virtual machines, you can use the default NAT-based network provided by KVM. Alternatively, you can create a bridged network for better performance and connectivity. Check out our guide on how to set up a bridged network for KVM.
Create and Manage Virtual Machines
Now that you’ve installed KVM, you can create and manage virtual machines using the virt-install command or a graphical tool like virt-manager.
To install a new VM using virt-install, run the following command:
sudo virt-install \
--name my_vm \
--ram 1024 \
--disk path=/var/lib/libvirt/images/my_vm.qcow2,size=10 \
--vcpus 1 \
--os-type linux \
--os-variant generic \
--graphics none \
--console pty,target_type=serial \
--location 'http://your-linux-distribution-mirror-url/path/to/install/tree' \
--extra-args 'console=ttyS0,115200n8 serial'
Replace the name, ram, disk, and location options with values appropriate for your desired VM configuration.
To manage your VMs graphically, you can install virt-manager:
sudo dnf install -y virt-managerNow, you can launch virt-manager and start creating and managing VMs with a user-friendly interface.
Step 5: Learn More About KVM
Now that you have KVM up and running, you can dive deeper into managing and optimizing your virtual environment. Here are some resources to help you get started:
- How to install VirtualBox on Rocky Linux: Learn how to set up VirtualBox, another popular virtualization solution, on your Rocky Linux system.
- How to set up RAID on Rocky Linux: Improve the performance and reliability of your KVM virtualization environment by setting up RAID storage.
- Managing LVM volumes on Rocky Linux: Learn how to create, resize, and delete LVM volumes to manage storage for your virtual machines.
- How to set up a cron job on Rocky Linux: Automate tasks like VM backups and updates using cron jobs.
Conclusion
In this tutorial, we walked through the process of installing KVM virtualization on Rocky Linux. We covered the prerequisites, installing required packages, configuring networking, and creating virtual machines. With KVM installed, you now have a powerful and cost-effective virtualization solution at your disposal.
Keep exploring KVM features and optimizations to make the most of your virtual environment. As you become more familiar with KVM, you’ll discover the many ways it can enhance your infrastructure and help you manage resources more efficiently. Happy virtualizing!


